With fluffy spiced pumpkin cake layers, luscious salted caramel buttercream and sweet caramel glaze added between the layers, this cake is sure to cure your pumpkin and caramel cravings this fall season!

I’m so excited to share with you one of my favorite fall flavors in a cake, and I know I’m not alone here. This salted caramel pumpkin cake is a treat you’ll be craving all season long! If you are a pumpkin fan like myself, this cake was made for you. The second Starbucks releases their pumpkin spice latte, it’s officially time for fall baking and decorating. This is officially my all-time favorite pumpkin cake recipe. Pumpkin lovers, unite!

Notes for making the pumpkin spice cake:
- The recipe as-is will also work using 2 8” round cake pans. If you are looking to make a 3-layer 8” cake, 1.5x the recipe
- The standard recipe calls for 3 6″ round cake pans, however the tops of this pumpkin spice cake can tend to bake up a bit high, so you may need to level the cake layers. The additional cake scraps can be used for cakesicles, cake pops, to-go cake jars, or make a lovely snack on their own!
- Be sure to use room temperature ingredients, it truly makes all the difference
- If you have pumpkin pie spice on hand, you can use that instead of the cinnamon, ginger, and cloves combination (1 Tablespoon pumpkin pie spice). You can also omit the pumpkin pie spice and/or the cinnamon, ginger, and cloves if you prefer this cake to be purely pumpkin without the spice.
- Make sure you are using pumpkin puree or pure pumpkin, not pumpkin pie filling. The difference is that pumpkin pie filling is ready to go with all the added flavors and spices of a pumpkin pie cake, therefore, if you add additional ingredients your cake won’t turn out properly and it won’t taste right.

Tips for making the salted caramel:
- Making homemade caramel doesn’t take very long but it requires 100% of your attention. Some of the steps happen quickly and it can burn if you take your eyes off it for a second.
- Use a bigger pot than you think you’ll need – even though we are making a small amount, when you add the cream the caramel will bubble a lot and get really tall, so make sure you have enough space for it to bubble up.
- While the water and sugar are boiling, it is important to continuously brush down the sides of the pot with a wet pastry brush to prevent the sugar from crystalizing. As the sugar heats, it condensates on the sides of the pot and hardens, which is how grainy caramel is made and that is not what we want. We want that smooth, luscious, creamy caramel!
- You’ll need to watch the color of your sugar very closely. Once it reaches that perfect caramel / amber color, you’ll want to remove it from the heat immediately to prevent it from burning. Watch the edges as those usually brown first. I’ve noticed that the darker the caramel, the richer the flavor.
- Don’t use cold butter, make sure it is room temperature.
- The caramel will be very hot and will take a while to cool, so please be careful! We don’t want to burn our fingers or tongue in a taste test so use a spoon to take a small sample, let it cool, and taste it if you plan to add some sea salt.
- While homemade salted caramel is SO worth it and luscious and amazing, if you are in a pinch or prefer dulce de leche, you can use a can of that as well.
- This recipe will make more caramel than what is required in this cake recipe, so I always recommend drizzling the extra caramel over top each slice of pumpkin cake as it’s served. Also, you can use it to make ice cream, cupcakes, and even swirl some into your brownie mix!

Notes for making the salted caramel buttercream:
- One of the reasons why I love this buttercream recipe so much is because it’s American buttercream, but the addition of the silky caramel makes a texture similar to Swiss Meringue without all the hassle. I can’t wait for you to try it!
- Be sure to use room temperature butter
- It is important that the caramel is completely cooled prior to adding it to the buttercream mixture. Warm, especially hot caramel will completely melt your buttercream making it too runny to frost your cake with.

What you’ll need for baking and preparing the ingredients:
- 3 6” cake pans
- Large mixing bowl
- Measuring cups and spoons
- Stand mixer with paddle attachment or electric hand mixer
- Spatula
- Pastry brush
- Mason jar or tupperware to store leftover salted caramel
- Medium pot
- Whisk
What you’ll need for decorating the cake:
- Turntable
- Offset spatula
- Cake scraper
- Note: I consider these items the big three! These are the first items I always recommend for beginner cake decorators. You can find all of them for reasonable prices on Amazon, you don’t need to spend the big bucks on fancy supplies to make a beautiful cake!
- Cake board / drum
- Non-stick mat
- Piping tip #26 (to make the pumpkins)
- Piping bags or Ziploc bags
- Food coloring (I used orange and brown, you can use any colors you’d like)

Notes for stacking and filling this cake:
- Make sure your cake layers are completely cooled prior to stacking this cake. If your cake is still warm, it won’t provide enough stability and your buttercream will begin to melt as you are stacking.
- Make sure your buttercream, cake layers, and salted caramel filling are all ready to go. It makes a huge difference to keep all the supplies and ingredients you need close by when you are stacking your cake layers.
- I like to place a cardboard cake board on top of my turntable prior to starting to make it easier to pick up my cake and move it around once I’m done decorating.
- This is useful if you plan to transfer your cake to a different cake stand or travel with it in the car
- I also recommend using some type of cake board (doesn’t have to be cardboard, could also be acrylic (re-usable) or a thicker cake drum. These can be purchased online on Amazon, at Michael’s or Walmart.
- If you are using a cake board or cake drum, place it directly onto your turntable on top of a non-slip mat. This will prevent your cake drum from sliding away from you as you start scraping the sides of your cake.
- Depending on how your cake layers are baked, you may need to cut off the cake tops to make even, flat cake layers.
- Once your cake board is secured to your turntable, add a small amount of buttercream directly onto your cake board. This will act as a glue and will help keep your cake in place as you decorate.
- I always like to keep a separate clean bowl next to my batch of buttercream for the crumb coat, which is where we’ll begin. This is to catch any cake crumbs that inevitably get into your buttercream and prevent them from making their way into the buttercream that we will ultimately be using for the final layer of our cake. Check out my other blog post here for detailed instructions on how to properly crumb coat a cake.
- Once you add your first cake layer, take your offset spatula and add a generous layer of buttercream. I like a lot of frosting in between my cake layers, but its really your preference on how much you’d like to add.
- Note: it’s important to use your offset spatula to make your buttercream as flat and even as possible. You don’t want a lop-sided cake, so try to even out your cake layers with the frosting prior to adding the next layer.
- Next, lightly drizzle your homemade caramel sauce on top of your buttercream layer, and repeat steps 6 -8 again with your second cake layer.
- When it’s time to add the last cake layer, make sure you place it upside down. In other words, the bottom of the cake that was touching the pan should be facing up.
- The reason you do this is because the bottom of the cake is much flatter than the leveled part. Also, you won’t get nearly as many crumbs in your buttercream this way.
- Once all three cake layers are stacked, if your cake is feeling a little uneasy, pop it into the freezer for 5 minutes or the fridge for 10 minutes to help it hold its structure. I always recommend doing this for cakes with soft fillings.
- Next you’ll add your crumb coat. The purpose of this is like it sounds, to prevent cake crumbs from presenting themselves in the final decorated layer of your cake.
- The beauty of this step is that your frosting technique doesn’t have to be perfect, it just needs to lock in the crumbs.
- Use your offset spatula and cake scraper until you are comfortable with the end result
- Pop it into the freezer for 10-15 minutes to get the crumb coat solidify, then we’ll add the final layer of buttercream.

Notes for decorating this cake:
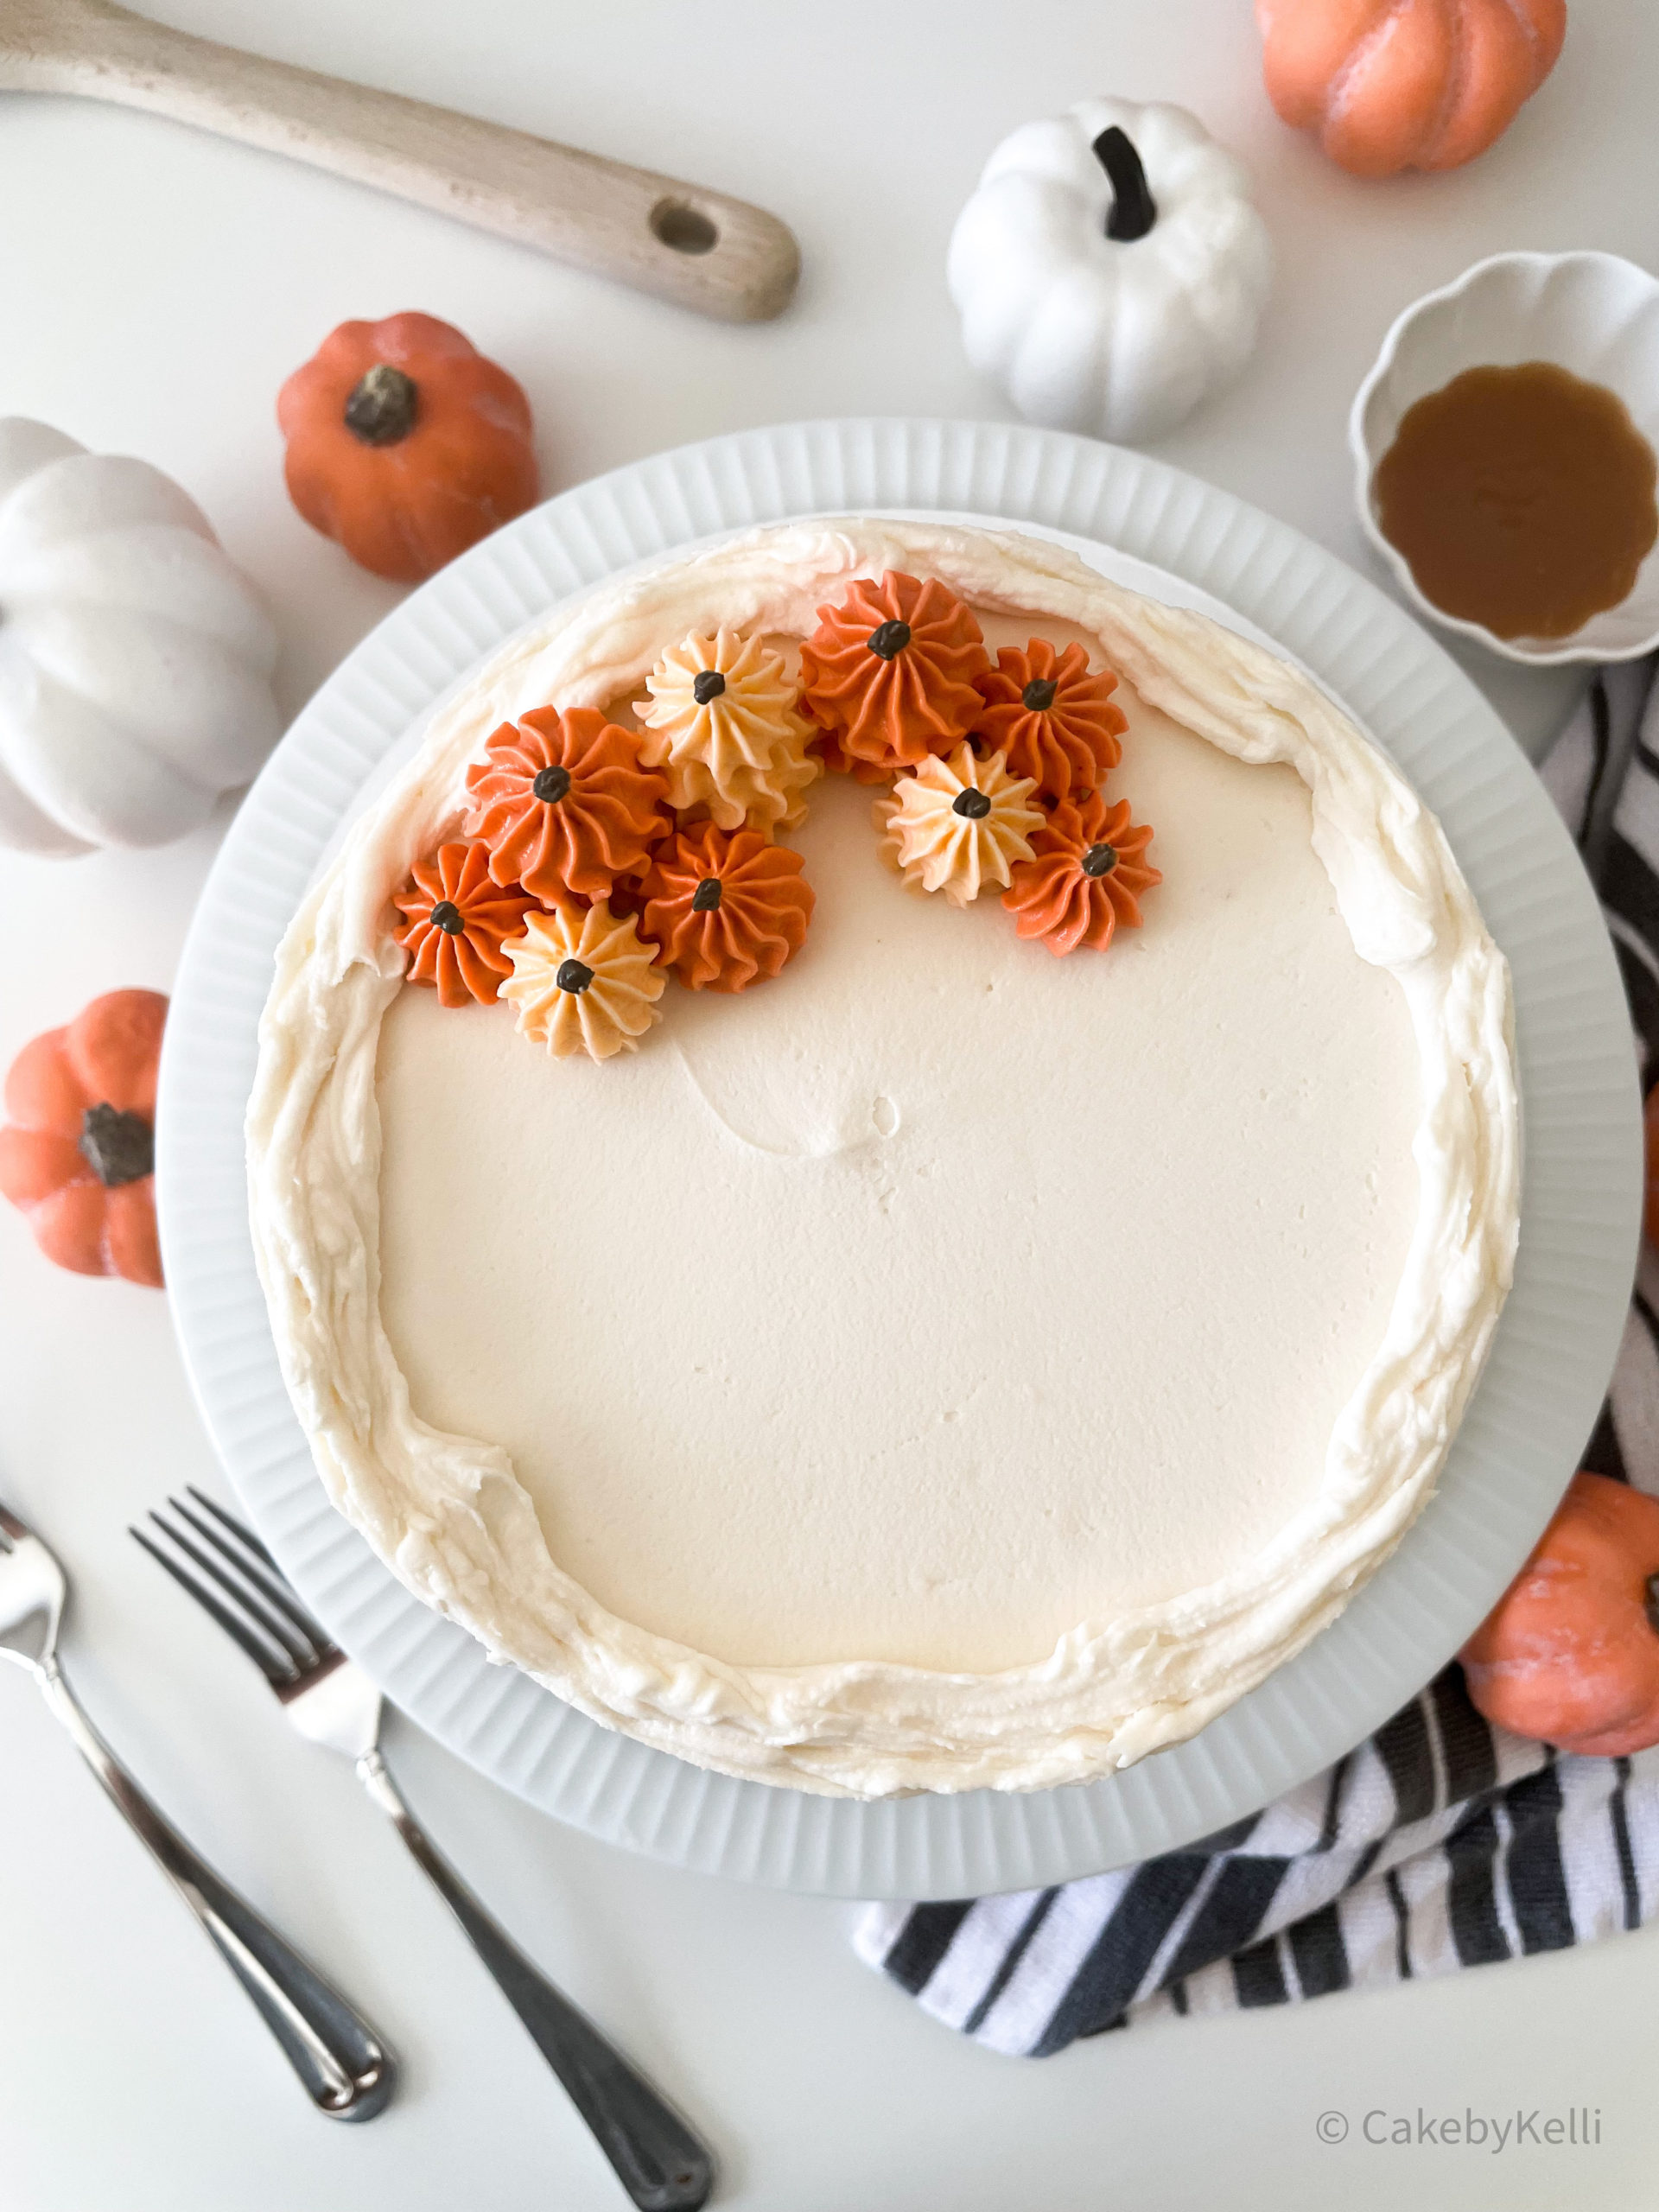
- I decided to go with a really simple decorating style for this cake because so much work goes into it before you’re able to get to the fun part! I personally prefer the creative part of styling the cake, and I liked the idea of keeping this design simple
- As I was scraping the final layer of buttercream, I decided to leave the uneven edges on top. I think it gives the cake a classic look, and I love that it doesn’t have to be perfect.
- Then, I took a small bit of caramel buttercream and added just a touch of orange food coloring to pipe the first set of pumpkins. I placed them randomly on one side of the cake, some taller than others. I used piping tip #26 for this specific design, and the wider you’d like the pumpkins, the longer you hold and apply pressure to the piping bag as you are pushing your buttercream out of the tip.
- Once I was done with the light orange set, I added another drop of orange food coloring to my remaining buttercream to create a darker shade of orange. I repeated the same process and made another set of darker orange pumpkins around the lighter ones
- Lastly, I added a dab of brown buttercream to make the stems. I grabbed a new piping bag with no piping tip and cut the smallest hole on the corner of the bag to create the pumpkin stems
- If you’re feeling a little extra creative, you could make some green buttercream and pipe pumpkin stems and leaves, that would be darling!

Tips for storing the cake:
- After the cake has been fully frosted and decorated, it is safe to leave it at room temperature or in your fridge for a few days. If you leave it in the fridge, be sure to give yourself plenty of time to let it come to room temperature again prior to slicing into it.
- I always decorate my cakes the night before any event and let them chill in the fridge overnight and they always turn out great!
- Once you’ve sliced into it and there are still leftovers, you have a few options for storing:
- Once the cake is sliced, the cake layers are no longer protected by buttercream and will dry out quickly. To prevent this, you can
- Add another thin layer of buttercream to the exposed cake layers (basically, re-frost the now exposed cake) and place it back in the fridge until ready to serve. I only recommend doing this if you plan to eat the entire cake within a few days of making
- You can cover the exposed cake in plastic wrap and place it back in the fridge
- You can cut the remaining cake into slices and wrap each slice individually tightly in plastic wrap and place it in the freezer. Cake slices wrapped in plastic wrap will keep in the fridge for at least three months!
- The night before you want to enjoy another slice of cake, bring it from the freezer into the fridge and the following day let it thaw at room temperature prior to enjoying.
- Once the cake is sliced, the cake layers are no longer protected by buttercream and will dry out quickly. To prevent this, you can

Tips for making the cake in advance:
- I always recommend breaking up cake making steps into multiple days so the task itself stays fun and doesn’t become daunting or too time consuming. Luckily for this cake (and for nearly all my cakes) you can make everything in advance!
- The caramel can be made up to a week in advance. Once cooled, add it to a mason jar or airtight container and keep it in the fridge. Luckily caramel sauce has so many other fun uses and will likely last a week!
- The buttercream can be made up to one month in advance. Once it’s prepared, place it in an airtight container in the refrigerator and perform the same steps with writing the flavor and the date.
- The cake layers can be made up to three months in advance. Once the cake layers are completely cooled, wrap them tightly in plastic and then in foil. I prefer to write the name of the cake flavor and the date in a marker on the foil prior to putting it in the fridge so I can keep track of it.
Alright, let’s get into it already!


NEW Salted Caramel Pumpkin Spice Cake
Description
This recipe starts with a pumpkin spice layer cake as its base, then adds homemade caramel sauce and decadent caramel buttercream. There are so many directions you can go with this recipe, and I promise it will not disappoint! You can make this recipe salted or unsalted, spiced or non-spiced, the creative freedom is yours!
Ingredients
Salted Caramel Ingredients
Pumpkin Spice Cake Ingredients
Salted Caramel Buttercream Ingredients
Instructions
- Add sugar and water into a medium pot and stir to combine, but that is it! You will not be stirring the water and sugar again after this point. You will need your whisk once we add the heavy whipping cream in step 4.
- Bring the heat to on the stove to the highest setting, and continue to brush down the sides of the pot with a wetted pastry brush to prevent the sugar from crystalizing.
- Continue cooking the water and sugar over high heat until the perfect amber color is achieved, and immediately remove it from the heat.
- Slowly, pour in the room temperature heavy whipping cream. Note: this is the part where the mixture will bubble up a lot, so be careful and continue to whisk quickly as you are slowly pouring the heavy whipping cream into the pot.
- Then, add the room temperature butter (I prefer to cube it for a more even melt but that is not necessary) and bring it back to a boil.
- Simmer for 2 minutes while stirring constantly with your whisk.
- If you’d like to make this a salted caramel, carefully add a dash of salt, grab a small spoonful, let it cool, taste, and continue the steps until your preferred level of salt is added to the caramel. I always recommend starting with a small bit of salt and continue to add more to prevent you from adding too much in the beginning.
- Remove the caramel from the heat completely and let your caramel cool to room temperature (about 2 hours).
- After I’ve let mine cool for a bit, I will transfer my caramel from the pot into a mason jar and stick it in the fridge to help it thicken up and cool faster.
- Preheat your oven to 350 degrees Fahrenheit
- Spray 3 6” round cake pans with baking spray (I prefer Pam’s no-stick baking spray).
- In a large bowl, mix together all dry ingredients (flour, baking powder, baking soda, cinnamon, ginger, cloves, salt).
- With a stand mixer using the paddle attachment, beat the room temperature butter, oil, and both sugars until light and fluffy (2-3 minutes).
- Beat in the eggs one at a time on medium speed, scraping the sides of the bowl as needed.
- Add in vanilla extract and beat until combined.
- With the mixer on low speed, beat in the pumpkin puree and the flour mixture in three additions, starting and ending with the flour mixture.
- Divide the batter evenly between three cake pans (I like to use my kitchen scale to get as close as possible) and bake for 35 – 40 minutes, until a toothpick inserted in the middle comes out clean.
- Cool on wire rack for 15 minutes.
- Turn the cakes out of the pan onto the wire racks to cool completely.
- In a stand mixer, beat the room temperature butter on high until light and fluffy.
- Turn your mixer onto its lowest speed, and slowly start adding your powdered sugar, cup by cup. Note: most powdered sugar bags in the U.S. are pre-sifted, and therefore I personally do not think it is necessary to sift your powdered sugar again prior to adding to your butter. It doesn’t hurt to, but it’s also not required. If your powdered sugar seems a bit stiff or clumpy, I would recommend sifting it first.
- Once your butter and sugar are fully combined, add the vanilla extract and mix to combine.
- Lastly, add your homemade caramel sauce (once completely cooled) and see how creamy and delicious your ABC (American buttercream) is!
It came out so delicious!!
That’s great! Thank you for giving it a go!
Firstly, I love pumpkin and caramel and couldn’t wait to try this recipe! Her step by step instructions made it easy to follow!
My husband, my parents and my kids all think it is incredible, my daughter is not a pumpkin or caramel fan and she FELL IN LOVE !! So thank you for allowing me to bake your amazing cake! Can’t wait to bake again and also try more of your recipes !!
Aw thank you so much for the amazing feedback! I love hearing when people convert to loving a new flavor. Glad to hear you and your family enjoyed the recipe!