These versatile cookies have a crunchy exterior with an airy, fluffy texture inside; it’s basically like biting into crunchy cloud. I’m not sure what it is, but every time I whip up a batch I instantly become re-addicted! With only a handful of ingredients, these cookies are also gluten free, dairy free and keto friendly. Be sure you have plenty of time on your hands if you plan to bake meringues because they do take a couple of hours.
Meringue cookies are quite simple in one way, because they only have a few ingredients and are so versatile with all the different flavor and color options. On the other hand, they can be tricky little cookies, because doing one step incorrectly can really mess up the whole batch. One time I had toss nine eggs away because I screwed up 3 batches IN A ROW! I’ll explain why this happened later to make sure you don’t make the same mistakes as I have. I’m going to walk you through all the steps to mastering meringue cookies – let’s get started!
STEP 1: GATHER ALL YOUR INGREDIENTS
Meringue cookies require egg whites, cream of tartar, sugar, salt and vanilla (this is optional). That’s it! I told you they only take a handful of ingredients. Most people probably have these items handy in their kitchen cabinet or pantry, except maybe cream of tartar, but that is readily available at almost any grocery store. Let’s break down the ingredients one by one:
Egg whites
When I make meringue cookies, I always prefer to use egg whites from eggs directly versus from the carton. This pretty much goes for all my recipes because I prefer to use fresh eggs and is just my preference. I’m sure the carton ones will work just fine, in fact, they may even work better because if you get any bit of the egg yolk in the whites you may experience issues when trying to get stiff peaks. I also ALWAYS use room temperature eggs. It’s much easier to whip room temp egg whites than cold egg whites.
If you’re like me and don’t have a lot of patience, you can bring your eggs to room temperature using another method other than ‘the natural way.’ The natural way (e.g. the waiting game) doesn’t even work in the winter anyway and depending on the climate in your kitchen, so let me fill you in on a little secret. You’ll need two bowls – one that is slightly larger than the other. Fill the larger bowl with warm water and place your eggs in the smaller bowl inside the larger bowl that is filled with warm water. This will help accelerate the process of warming your eggs without accidentally cooking the eggs, which could happen if you put the eggs into water directly.
I also sometimes wrap the eggs in a clean dish towel and hold them in my hands for a few minutes to help warm them up, but I personally prefer the bowl method because I can prepare other things while the water is working it’s wonders.
Cream of tartar
The cream of tartar is important because it helps stabilize the egg whites once they’re whipped, and it also helps to break down the sugar to prevent it from having a grainy texture. I’ve seen in other blogs that you can actually substitute cream of tartar for lemon juice 1:1 because it has the same acidic qualities. I’ve always been concerned with adding more liquids to this recipe so I haven’t personally tried this, but if you do please drop a comment below because I’d love to hear how it worked for you!
Sugar
I mean, they are cookies..
Salt
Just a pinch for good measure
Vanilla extract (optional)
Alright, so this ingredient is optional, and can also be swapped out for other flavor extracts. Vanilla meringue cookies are always my go-to flavor because I love how they taste with vanilla alone, but if you want to flavor your meringues, this is where you can swap out vanilla. Some examples for vanilla substitutes include lemon, strawberry, raspberry, or even mint extract. If you want to make chocolate meringue cookies, you can add a small amount of cocoa powder to your recipe. Another fun flavor idea is to dip your fully baked and cooled meringue cookies in a chocolate coating. They are sooooo good this way!! I especially love the mint and dark chocolate combo.
STEP 2: PREPARE YOUR TOOLS
You will need a clean bowl, whisk attachment (or a hand-held mixer), a spatula, piping bags, piping tips (optional), parchment paper and a baking sheet.
The most important part of the tools is having a clean bowl. I know, why am I telling you to have a clean bowl? Like why wouldn’t your bowl be clean? What I mean to say is that your bowl MUST be grease free. This is a non-negotiable. If there is even the tiniest bit of residual butter in your bowl from previously making buttercream or cookie dough this won’t work. This applies any time you have to whip egg whites, like in Swiss meringue buttercream (check out my other blog post about buttercream here).
The grease will prevent your egg whites from stiffening, and you will find yourself with a very runny consistency that just isn’t changing. If there was grease in the bowl before you added the egg whites and you added them anyway, I hate to break it to you but there really isn’t a whole lot you can do other that start over and clean your bowl really really well before starting again. You can always wipe your clean bowl with a little bit of vinegar just to be sure.
The same thing goes for your whisk attachment. Whether you are using a stand mixer or a hand mixer, make sure your whisk(s) are very clean, dry, and do not have any grease on them. The spatula will be used to help transfer your meringue cookie batter from your bowl into your piping bags. If you don’t have piping bags on hand, ziploc bags work just as well! You also don’t have to use piping tips, but if you want to be sure to add them to your piping bag/ziploc bag before you add your batter. Lastly, you’ll place a piece of parchment paper on your baking sheet. Because the egg whites are so sensitive to grease don’t use pam or any other non-stick cooking spray.
STEP 3: PREPARE THE BATTER
Once steps 1 & 2 are complete you’re ready to start making the cookie batter! I call it a batter versus a dough because it has more of a whipped cream texture when you’re done, which is different from your ‘standard’ cookie dough, but remember, the ingredients in meringue cookies are quite different because eggs are the main ingredient and there is no flour.
The first step is adding your egg whites to your bowl. At first, you’ll want to whip them at a low-medium speed. They’ll start to bubble up a bit, at which point you can add the cream of tartar, vanilla (or your choice of flavoring) and salt. Once the egg whites are still off-white but foamy, bump up the mixer to a medium speed. Let them mix for a few minutes but keep your eye on them. This process happens quickly. What you are looking for now is for the batter to start to stiffen up.
After about 3-5 minutes of mixing, stop your mixer and pull the whisk attachment away from the batter (it should be stark white at this point). What happens?
If your batter is still very liquified, keep mixing and bump up the speed again.
If your batter is beginning to stiffen up but it is not stiff enough to stand up by itself, continue mixing at high speed.
If you pull your whisk away from the batter and it is completely stiff, you are done! Congratulations, you just made meringue cookie batter, yay!
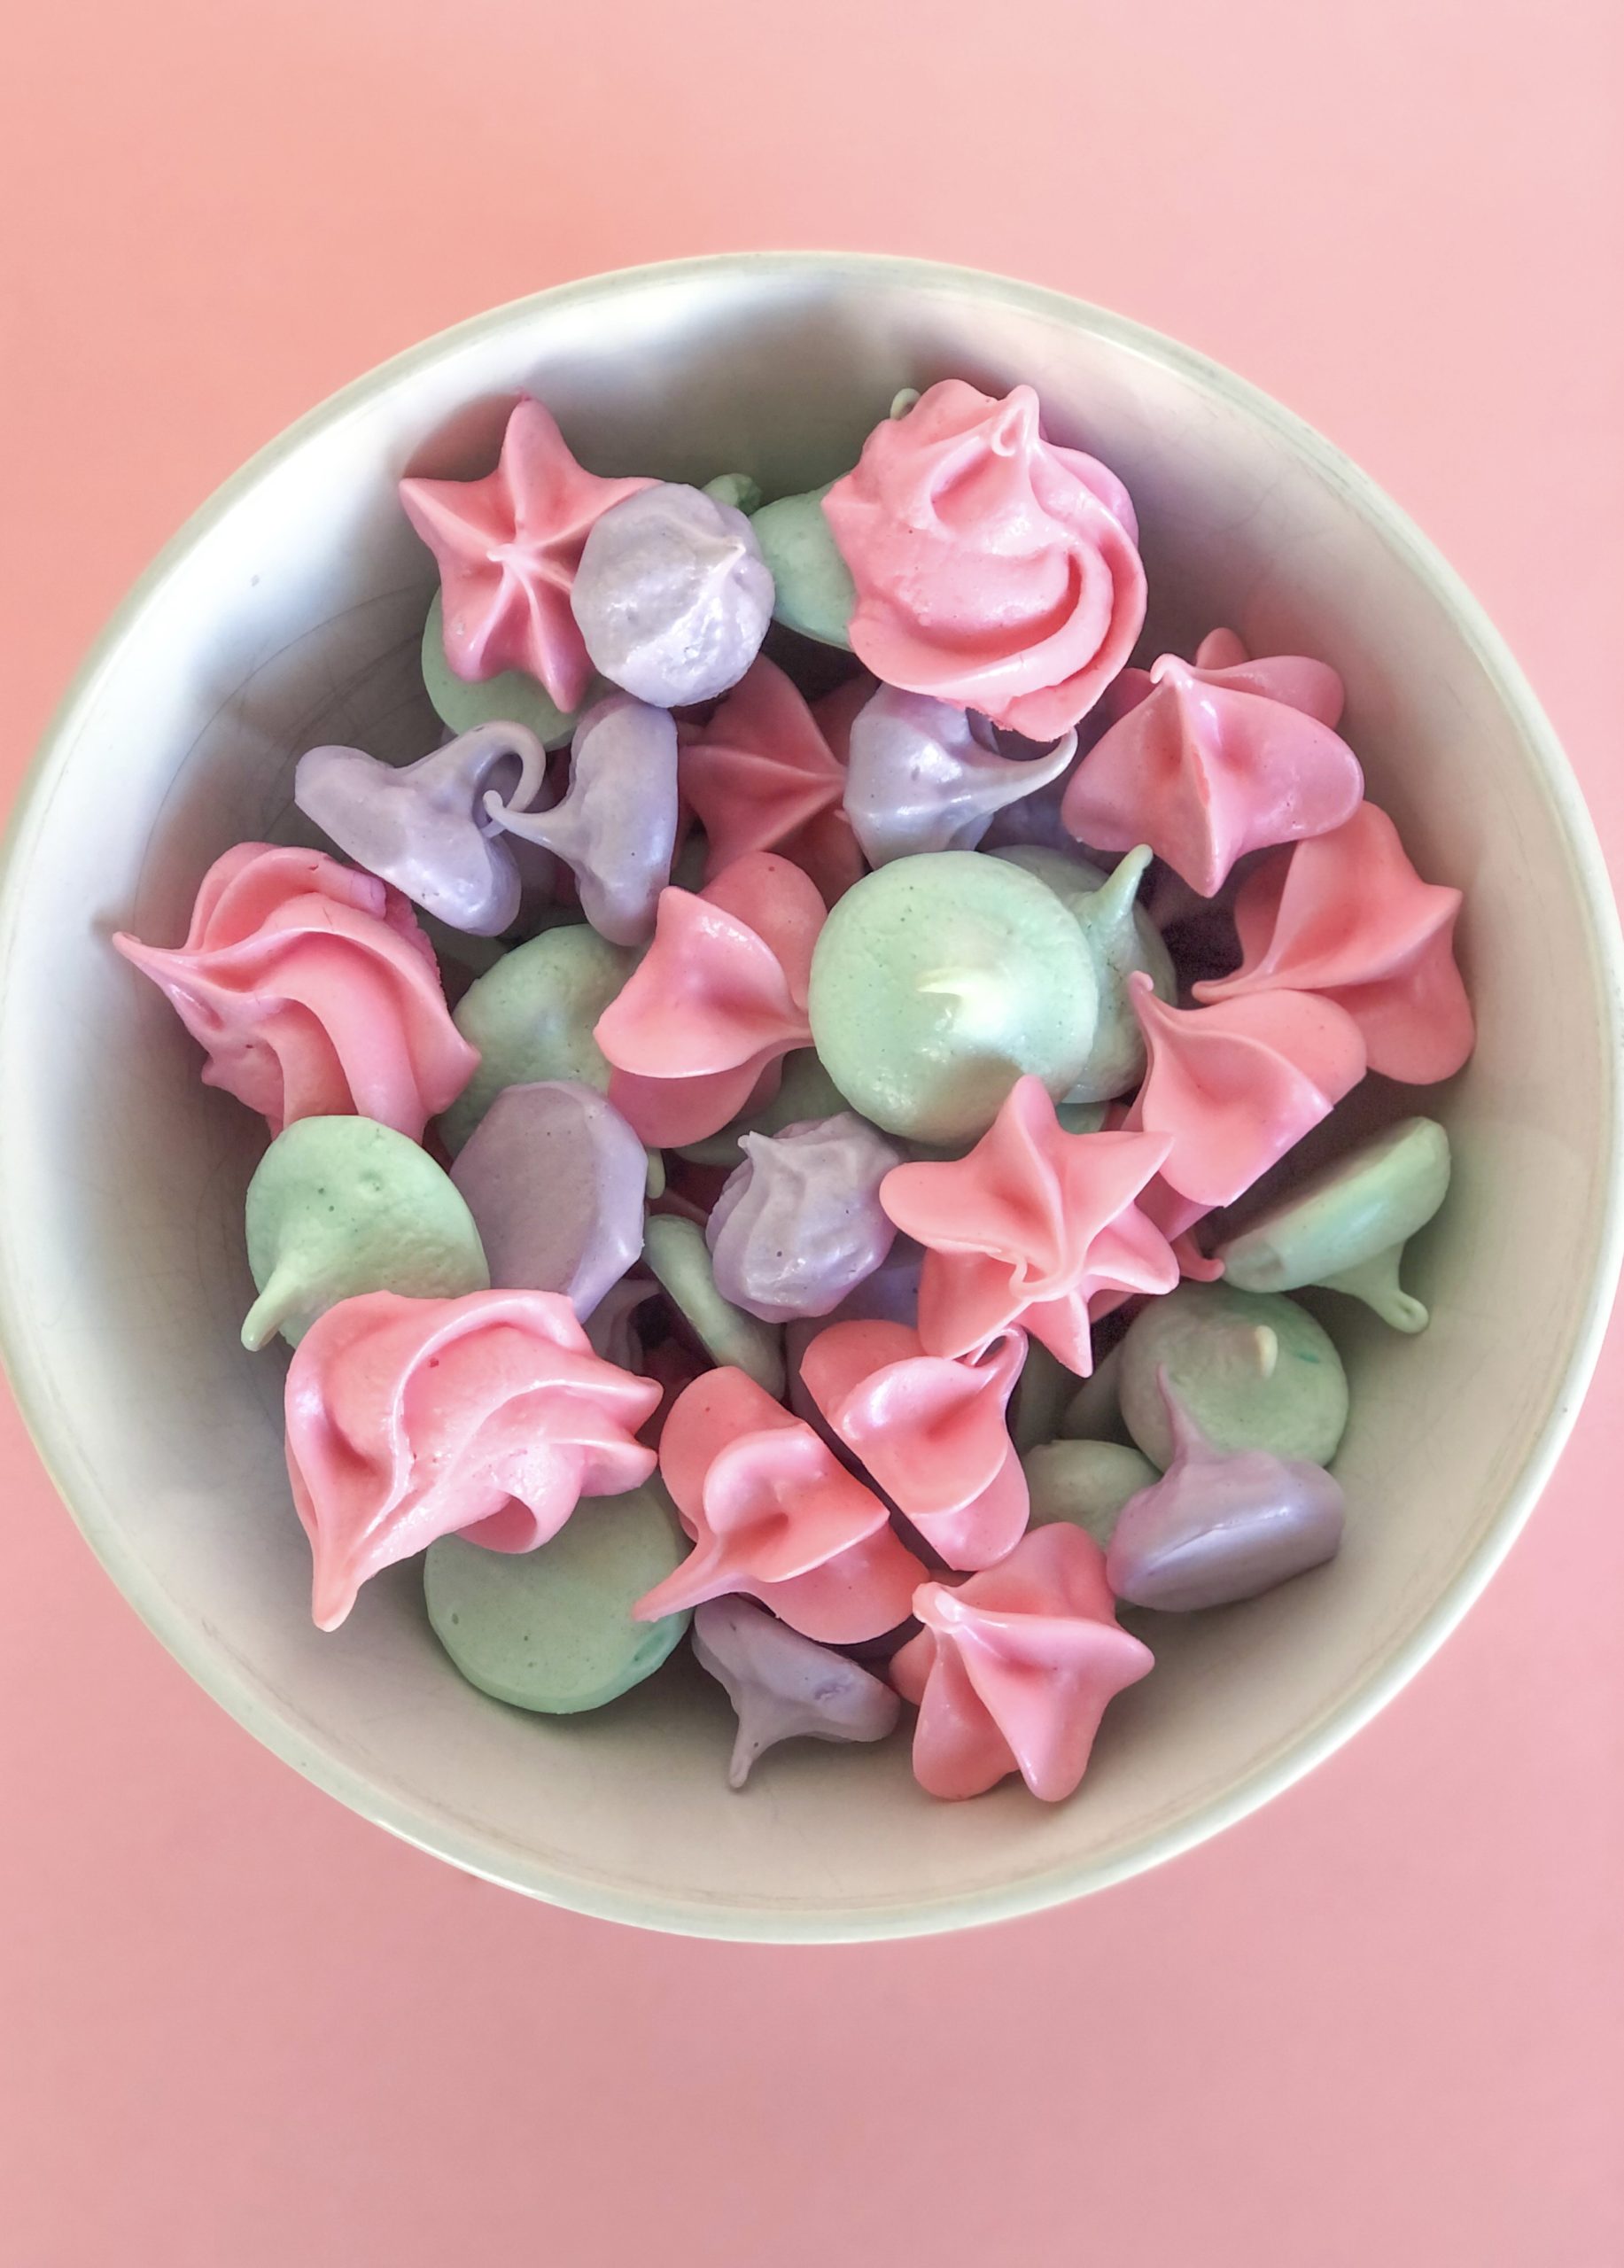
STEP 4: COLOR, PIPE, AND BAKE
Okay now this is where the fun begins! If you want to leave your meringues white as your base color you totally can, but it can also be fun to add a little bit of color! I am going to write a whole different blog post on coloring meringues and different piping tips and designs (I want to include photos which I don’t have available at the moment) but there is one key thing I want to point out that is absolutely critical when coloring meringue cookie batter…
DO NOT use oil-based coloring!! Oil based coloring is necessary for coloring chocolate, however the oil will completely ruin your lovely stiff batter and will melt in into a soupy mess. Remember in the beginning of this post how I mentioned that I had thrown away 9 eggs one time because I had messed up so badly and couldn’t figure out why? Well, this was why, and it drove me crazy because I thought it was due to the temperature in my kitchen and therefore, I didn’t try making meringues again ALL SUMMER! What a total waste!
When it comes to piping, the creativity is up to you! You can use a simple piping tip or get creative with it. A lot of “standard” meringue cookies are piped in the shape of a Hershey kiss by using the Wilton 1A tip, and they are so cute and elegant that way. I typically always pipe at least a few in this style to keep it traditional. Like I mentioned above, I will be putting together another blog post specifically dedicated to fun decorating techniques and specific piping tips I like to use when it comes to meringue cookies. Stay tuned!
It’s time to bake! Once you’ve piped out all of your meringue batter onto a cookie sheet fitted with parchment paper we can put these bad boys in the oven. I usually bake at 210 degrees Fahrenheit – these cookies are a low and slow bake. I usually start my timer at 70 minutes, which will be the first time I will check on them. Since the temperature is so low, doing things like turning on the oven light and opening the door run a high risk of ruining your cookies, so try to avoid these measures if you can.
Once you reach 70 minutes, pop open the door and try to pluck one of the cookies off of the baking sheet. If the cookie is still squishy or soft, they aren’t done baking yet. If the cookie has a crispy outer shell and easily pops right off the baking sheet while still holding it’s shape, then they are done.
Please note: the bake times will vary depending on the size of your meringue cookies. The bigger the cookie, the longer the bake time, so please keep that in mind if you are baking multiple batches or are baking different sizes at the same time. Also, every oven is slightly different – some run hotter than others – so 70 minutes works for my 20+ year old gas oven, but it may be shorter or longer for your oven.
Once your cookies are done – THIS IS KEY – turn off the oven but leave the cookies inside and crack the door open with a wooden spoon. Meringues are highly sensitive to rapid temperatures changes and this is what causes them to crack. Letting them cool in the over slowly while the oven cools down is the best way to avoid any cracks in your meringues, but sometimes they still tend to happen depending on numerous factors (the temperature in your kitchen, the number of times the over door was opened, if you leave the over light on, etc.) Once they are completely cooled (about 30 minutes), remove them from your oven and they are ready to eat!
Meringue cookies can stay fresh for a few weeks if stored properly in an air-tight container at room temperature. Once they become exposed to air they will start to become sticky and stale.
REMEDIATION TECHNIQUES
Here are a few helpful tips and tricks and remediation techniques to master meringues:
- Make sure your bowl is completely grease free (as an extra precaution you can wipe down your bowl with a little bit of vinegar)
- Use room temperature eggs
- Only use gel-based food coloring, do not use oil-based food coloring if adding color to your meringues
If you try making meringues after reading this article, please add a comment below or add a photo to social media and tag @cakebykelli, we would love to see your beautiful meringue creations!
Happy Baking!
Kelli
This is excellent! I sell cakes as a hobby, and sometimes people will want meringue decor added to the design. But I’ve always been too scared to attempt it. I feel like you explained the steps and tricks really well though. I’ll have to give this a try!
Oh that’s fantastic! They are really not too difficult to make, you got this! 🙂
I feel like these would taste like marshmallows, but crunchy? Lol I’ll just have to try and make it one day and see. thanks for the Inspo!
Yes! They’re like delicious crunchy marshmallows! I hope you give them a try sometime 🙂